Many of the Microsoft Word document formats requires header only on the first page. There are different methods to achieve it. Some method includes insertion of section break in the first page as an additional step while other simply involves ticking a check box. Here we will cover the latter one which is simple and faster.
Steps to Insert Header Only on First Page
The following method works in Word for Microsoft 365, Word for Microsoft 365 for Mac, Word for the web Word 2019, Word 2019 for Mac, Word 2016, Word 2013, Word 2010, Word 2016 for Mac.
1) Navigate to the first page of the document.
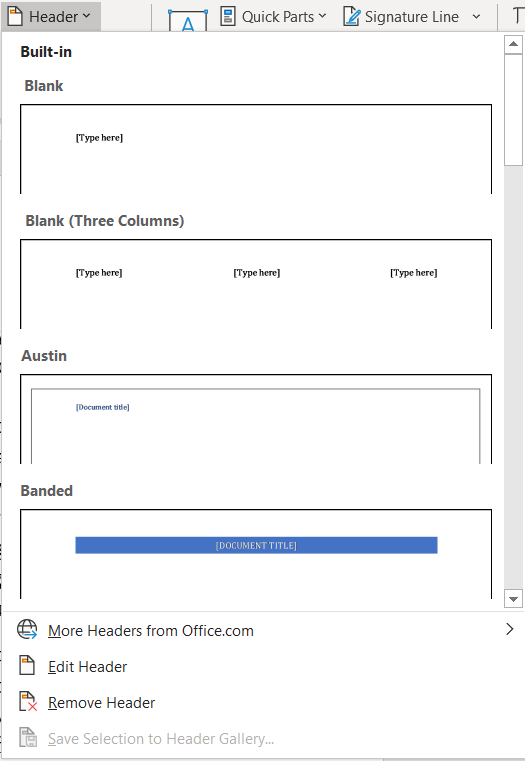
2) Click on Insert Tab, click Header and from the drop-down menu select the desired header format from the list or select edit header.
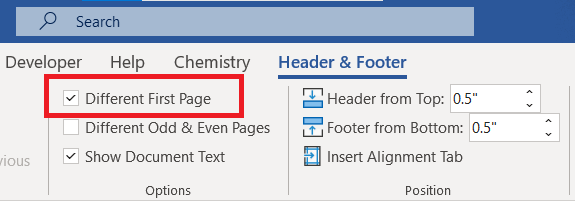
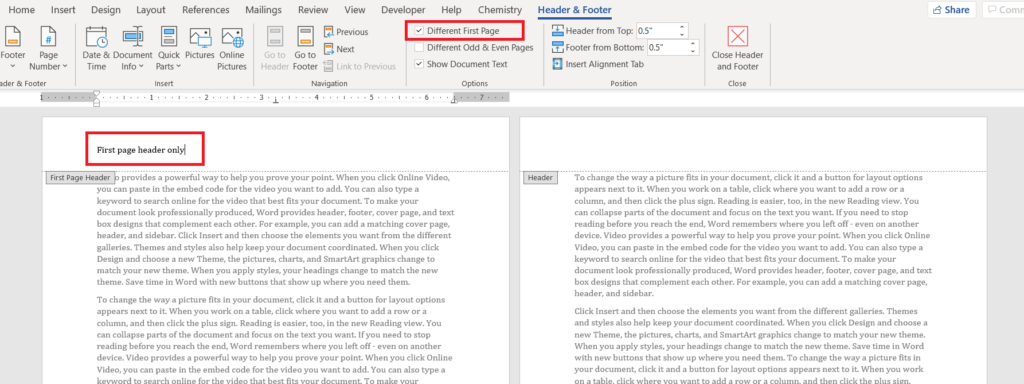
3) From Header & Footer Design Tab, check the box against “Different First Page”
4) Insert the desired content in the header. Step 3 will ensure that all it appears only in first page.
5) Press “Esc” or select “Close Header and Footer” key to get out of the header and return into the body of the document.
Summary
To insert header only on the first page, select “Different Page Header” from Header & Footer Design Tab before inserting content of header. This ensures that header content only appears on the first page of the document/section.

C P Gupta is a YouTuber and Blogger. He is expert in Microsoft Word, Excel and PowerPoint. His YouTube channel @pickupbrain is very popular and has crossed 9.9 Million Views.