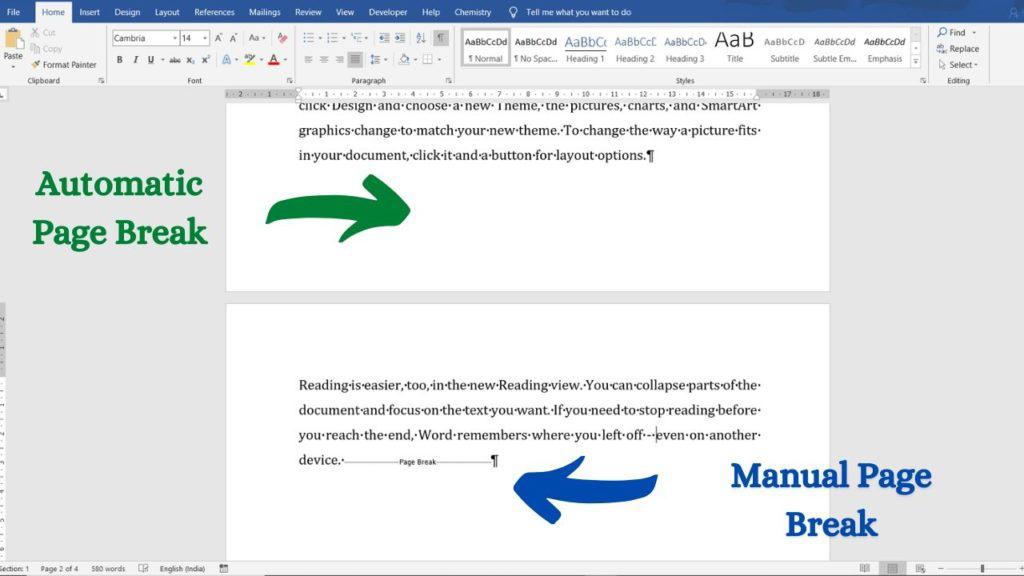
Microsoft Word automatically start new page by inserting page break (known as automatic page break) when texts flows out of page. However, it also provides user an option to insert page break (known as manual page break) which is useful in numerous cases (for e.g. inserting new chapter/ section/ subsection on new page). Ms Word manages automatic page break perfectly however for many reasons you may need to remove page break in Word that was inserted manually.
Two methods to remove page break in Word
There are two methods to remove page break. First method is locating page break manually to delete it and second method is finding page break using Find and Replace and then deleting it. Second method method is helpful especially if you want to remove page break in bulk.
Method 1: Removing page break manually
Step 1: Click Home > Show/Hide button (¶) in paragraph Group. Alternatively you can also use shortcut “Ctrl + *“

Step 2: Double click page break to select and press delete or backspace.
Method 2: Find and remove page break in Word
Step 1: Click Home > Replace in Editing Group or by pressing “Ctrl + H” to open “Find and Replace” dialogue box

Step 2: Click on More > Special and select “Manual Page Break” or simply type “^m” in Find what. Keep “Replace with” blank.
Step 3: Click “Replace” to replace page break one by one or click Replace All to replace all occurrence of page break.
Summary
There are two methods to replace page break in Ms Word. First method is deleting page break by manually locating it. And if you want to replace page break in bulk, then you can also use replace it using Find and Replace option.
Other posts you may like

C P Gupta is a YouTuber and Blogger. He is expert in Microsoft Word, Excel and PowerPoint. His YouTube channel @pickupbrain is very popular and has crossed 9.9 Million Views.