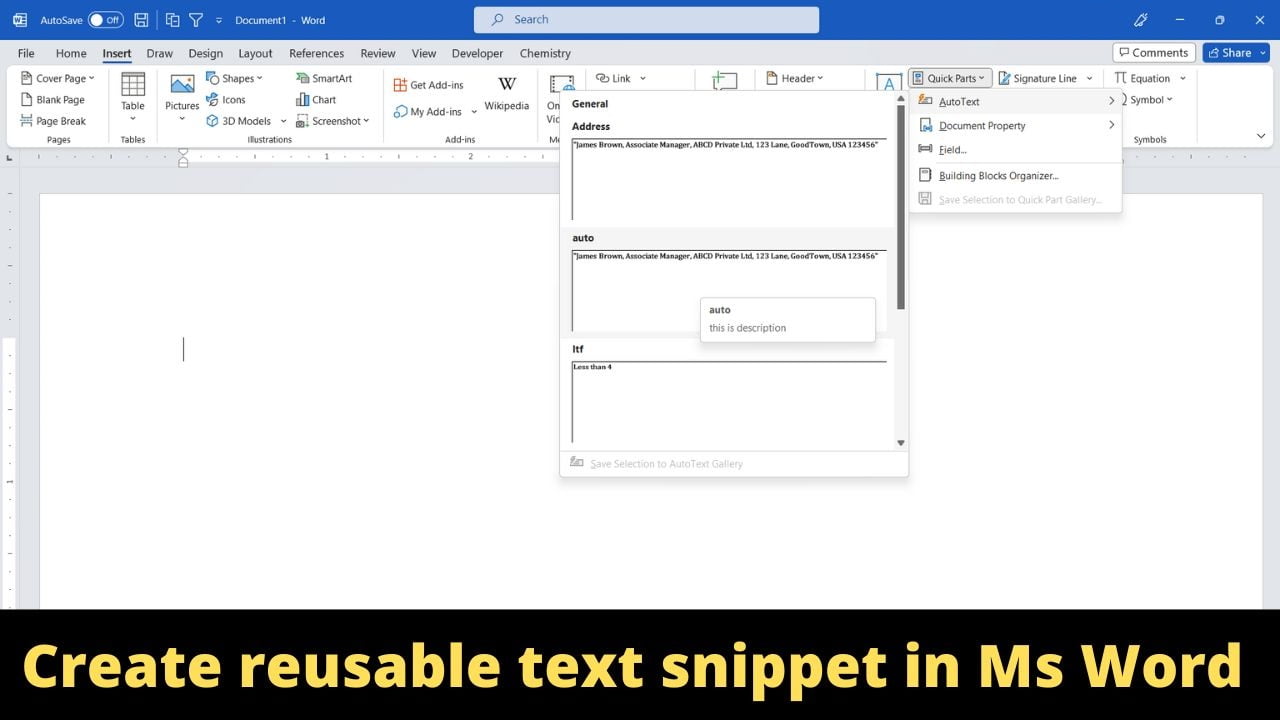
Does your work involve typing same text repeatedly in Ms Word? If yes then you have come to the right place. You can save text snippet in Ms Word with Auto text feature and reproduce it quickly whenever you need. This blog will show you how to create Auto text entry and different ways to insert them along with all the keyboard shortcut.
Let’s say you want to create Auto text entry for the following text snippet in Ms Word
“James Brown, Associate Manager, ABCD Private Ltd, 123 Lane, GoodTown, USA 123456”
Steps to create Auto Text entry
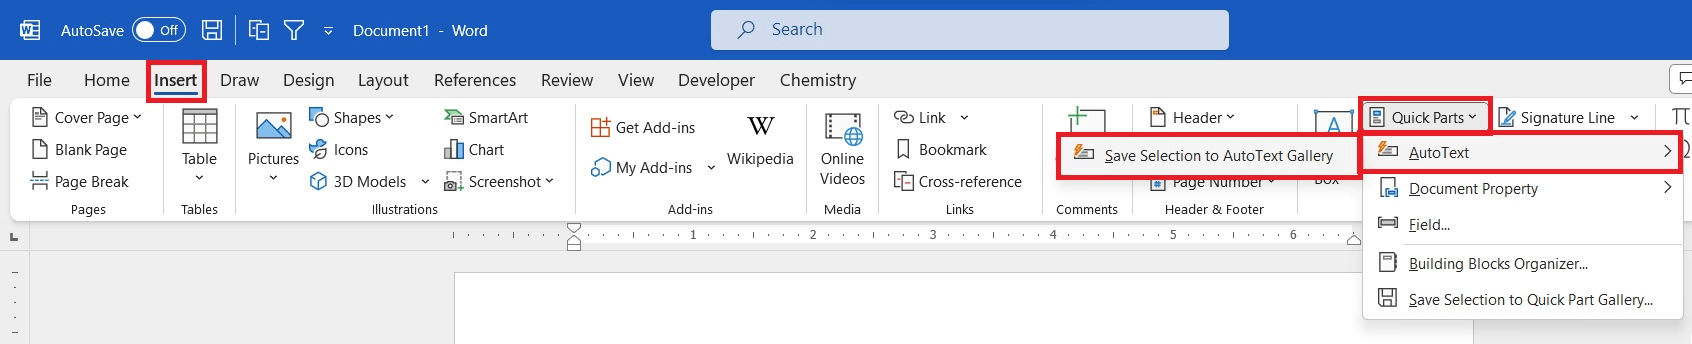
- Select the text for which you want to create Auto Text entry.
- Go to Insert > Quick Parts > AutoText > Save Selection to AutoText Gallery. Windows user can also use keyboard shortcut Alt+F3.

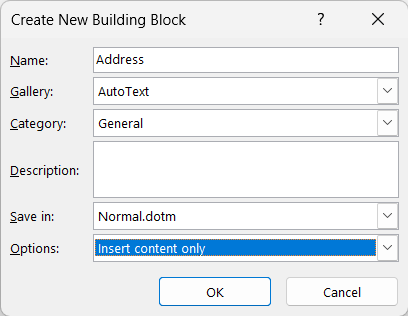
- In “Create New Building Block” window set the following field
- Name: Type any name. To use auto complete feature for inserting text snippet (one of the fastest way to insert auto text), it should be atleast 4 character long.
- Gallery: AutoText
- Category: You can use General or you can create your own category. This helps in organizing Auto Text entry.
- Description: This is optional.
- Save in: Use ‘Normal.dotm”. If you use “Building Blocks.dotx” you can distribute your Auto Text to other PCs. However, it comes with one downside that you can’t use auto complete feature to insert it.
- Options: Select suitable option among “Insert content only”, Insert contents in its own paragraph” or “Insert contents in its own page” as per your needs.

- Click ok.
Different ways and shortcut to insert Auto Text
Once you create Auto Text in Ms Word, you can insert them using any of the following ways
Method 1: User Interface (Slow but easy to remember)
Go to Insert > Quick Parts > AutoText and click on desired Auto Text entry to insert it as show below. For each auto text, Name and auto text snippet are shown in the list.

Method 2: F3 keyboard shortcut
Type complete name of Auto text (you have set while creating auto text entry), and hit F3 immediately after it.
Method 3: Auto Complete (Fast and My Favourite)
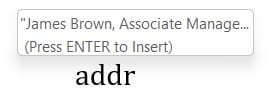
As soon as you type the fourth letter of Auto text’s name, Ms Word hints you with the matching Auto correct entry like below. You can simply hit enter key of insert it. In following example, Name of my Autocorrect entry was “Address”, but Ms Word started prompting it with the contents after hitting the 4th letter of name. Hence, to use this feature name of auto text entry should be atleast 4 character long.
Advantage of this method is that you need not type/remember entire name of Auto Text (in my case it was Address), you can simply hit enter once you get the correct hint.
Method 4: Building Blocks
Go to Insert > Quick Parts > Building Blocks Organizers.. In the Building Blocks Organiser window, find and select auto text entry you need to insert and click Insert.

This method also gives the option to edit and delete auto text entry.
Points to know about Auto Text
- Name of auto text is case sensitive. i.e. while using F3 or auto complete feature, you need not match the exact case of auto text’s set name.
- Auto text doesn’t limit you to save only text snippet. Your snippet can contain, Image, Table etc along with images.

C P Gupta is a YouTuber and Blogger. He is expert in Microsoft Word, Excel and PowerPoint. His YouTube channel @pickupbrain is very popular and has crossed 9.9 Million Views.